Keeping those must-read emails out of that pesky junk or spam folder is super important if you want to stay in the loop and not miss out on anything. If you’re using Juno email, taking control of what gets marked as spam is pretty easy-peasy. In this guide, we’re gonna run through how you can tweak your email settings and add safe senders to your whitelist. Whether you’re glued to your desktop or you’re more of a on-the-go type with your mobile device, we’ve got you covered. Get ready to make your Juno email experience smoother than ever!
For Desktop Users:
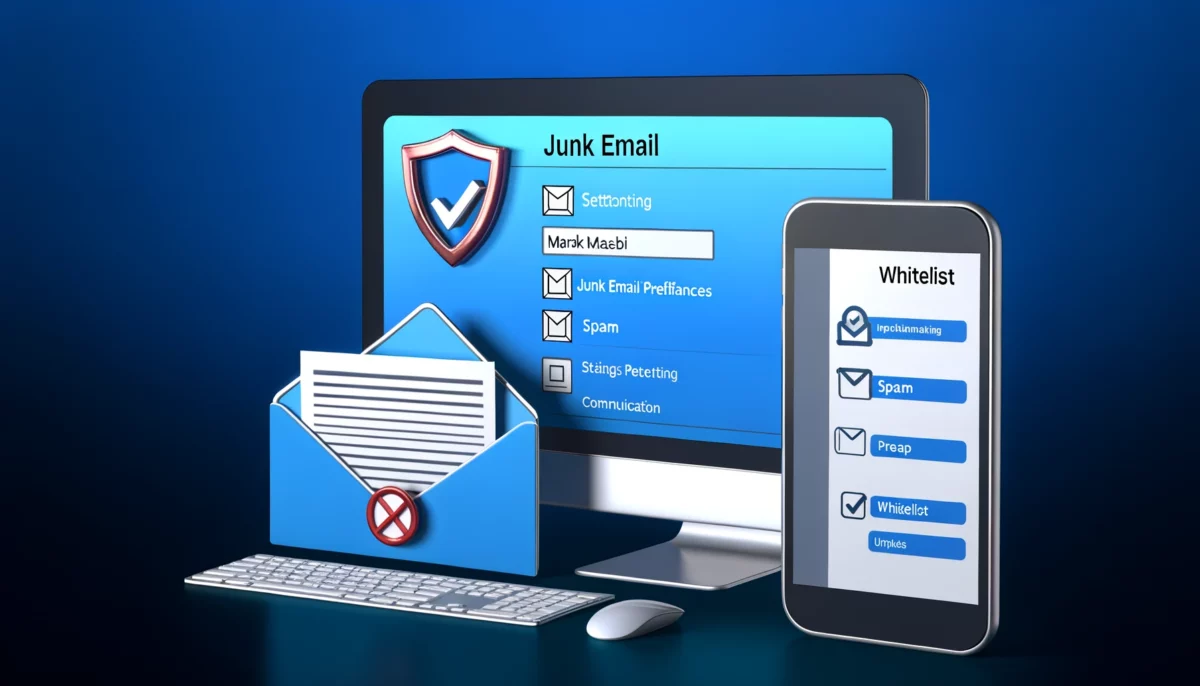
Preventing Emails from Being Marked as Junk/Spam:
- Log In to Your Juno Email Account:
- Open your preferred web browser and navigate to the Juno email login page. Enter your username and password to access your account.
- Access Your Email Settings:
- Once logged in, locate the “Settings” or “Options” menu, usually found in the upper-right corner of the interface.
- Adjust Junk Email Preferences:
- In the settings menu, find and select the “Junk Email” or “Spam Settings” option. This section allows you to adjust the sensitivity of the spam filtering system.
- Modify the Spam Filter Settings:
- You may choose to lower the sensitivity of the spam filter to prevent legitimate emails from being incorrectly marked as spam. Be cautious, as lowering the filter too much may allow actual spam emails to enter your inbox.
- Save Changes:
- After adjusting your preferences, make sure to save your changes before exiting the settings menu.
Whitelisting Specific Email Addresses:
- Navigate to Email Settings:
- As before, access your email settings from the main interface of your Juno email account.
- Select the Whitelist Option:
- Look for an option labeled “Whitelist,” “Safe Senders,” or something similar within the email settings.
- Add Email Addresses to Whitelist:
- Manually enter the email addresses you wish to whitelist. Ensure that you type them correctly to avoid errors.
- Confirm and Save:
- After adding the desired email addresses, confirm your changes and save them. These addresses will now bypass the spam filter and arrive directly in your inbox.
For Mobile Device Users:
Preventing Emails from Being Marked as Junk/Spam:
- Access Your Juno Email Account:
- Open the email app on your mobile device or use a web browser to log in to your Juno email account.
- Go to Settings:
- Tap on the menu icon (often represented by three lines or dots) to access the settings or options menu.
- Adjust Junk or Spam Email Settings:
- Locate and select the option for managing junk or spam email settings. Adjust the filter sensitivity as needed to prevent legitimate emails from being flagged as spam.
- Apply Changes:
- Ensure to save any changes you make to the spam filter settings.
Whitelisting Specific Email Addresses:
- Open Email Settings:
- Use the menu within your email app or browser interface to access the email settings.
- Find Whitelist or Safe Senders Option:
- Search for the option to manage your whitelist or safe senders list within the settings.
- Enter Email Addresses:
- Add the email addresses you wish to whitelist by typing them into the provided field. Double-check for accuracy.
- Save Your Whitelist:
- Confirm the addition of the new email addresses to your whitelist and save the changes.
By following these steps on your desktop computer or mobile device, you can effectively manage your Juno email settings to prevent important emails from being marked as junk or spam and ensure that emails from trusted senders always reach your inbox. Remember to regularly review and update your whitelist and spam filter settings to maintain optimal email management.
For more help
Receiving
If you need more help receiving email messages as a Juno webmail user, visit their support site.
Did this guide work for you?
Let us know if this guide for Juno email worked for you by leaving a comment below. While we strive to keep our guides up-to-date and relevant, sometimes things change without notice. If you find something is different in your Juno account from this guide, let us know what you had to do differently. Thanks for your help and input!